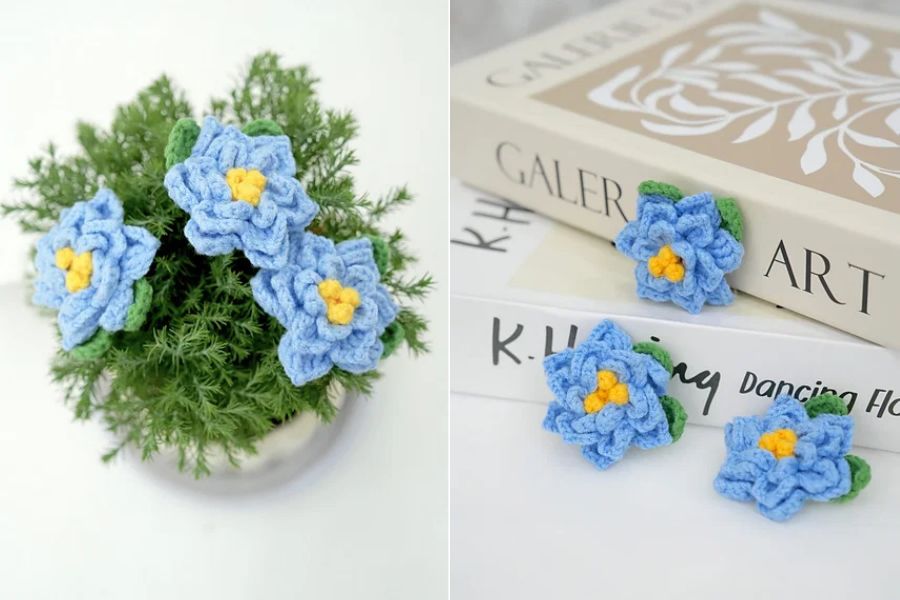
Crochet Gardenia Flower Applique Pattern for Beautiful Floral Decor
Imagine bringing the fresh, uplifting beauty of blooming flowers indoors without worrying about wilting petals or watering schedules. Crocheting a layered gardenia applique lets you capture delicate floral charm in soft, textured stitches that last forever.
With a cheerful yellow center, layered blue petals, and tiny green leaves, this little project turns simple yarn into a bright handmade accent. Whether you want to decorate a room, brighten a gift, or add sweet details to everyday items, this pattern is a joy to make.
Why This Layered Gardenia Applique Stands Out
Unlike flat crochet flowers, this gardenia builds volume through three distinct petal layers that give the bloom a lush, dimensional look. Each layer works from the previous one so the petals overlap naturally and hold a lovely shape.
Pairing soft sky-blue petals with a bright yellow middle and leafy green accents creates an eye-catching color contrast. Because the finished flower is compact and detailed, it works wonderfully for small decorative touches around the home or on handmade crafts.
Supplies and Yarn You Will Need
Choosing fine cotton yarn helps small crochet stitches look neat and defined, which is essential for delicate petals and leaves. This pattern calls for Loopara 4ply milk cotton yarn or Loopara 4ply combed cotton in fingering weight (14 wpi) using a 2.0 mm hook.
Here is the basic supply list to gather before you begin:
- Loopara 4ply combed cotton yarn in Green 12, Blue 32, and Yellow 43
- A 2.0 mm crochet hook
- Hot melt adhesive
- A stitch marker
- Scissors
Having a stitch marker handy makes keeping track of starting points and rounds much easier on small pieces. Sharp scissors also help you trim yarn ends cleanly without catching nearby stitches.
Key Crochet Techniques Used in the Pattern
This project uses a mix of foundational and slightly taller stitches to shape the center, petals, base, and leaves. You will work with chains (ch), slip stitches (sl), single crochet (sc), half double crochet (hdc), double crochet (dc), treble crochet (tr), and double treble crochet (dtr).
You will also use a magic ring to start closed circular sections tightly without leaving a wide gap in the middle. Working into the front loop only (FLO) and back loop only (BLO) lets you build layered petal tiers cleanly, while picot stitches add delicate little points along the petal edges.
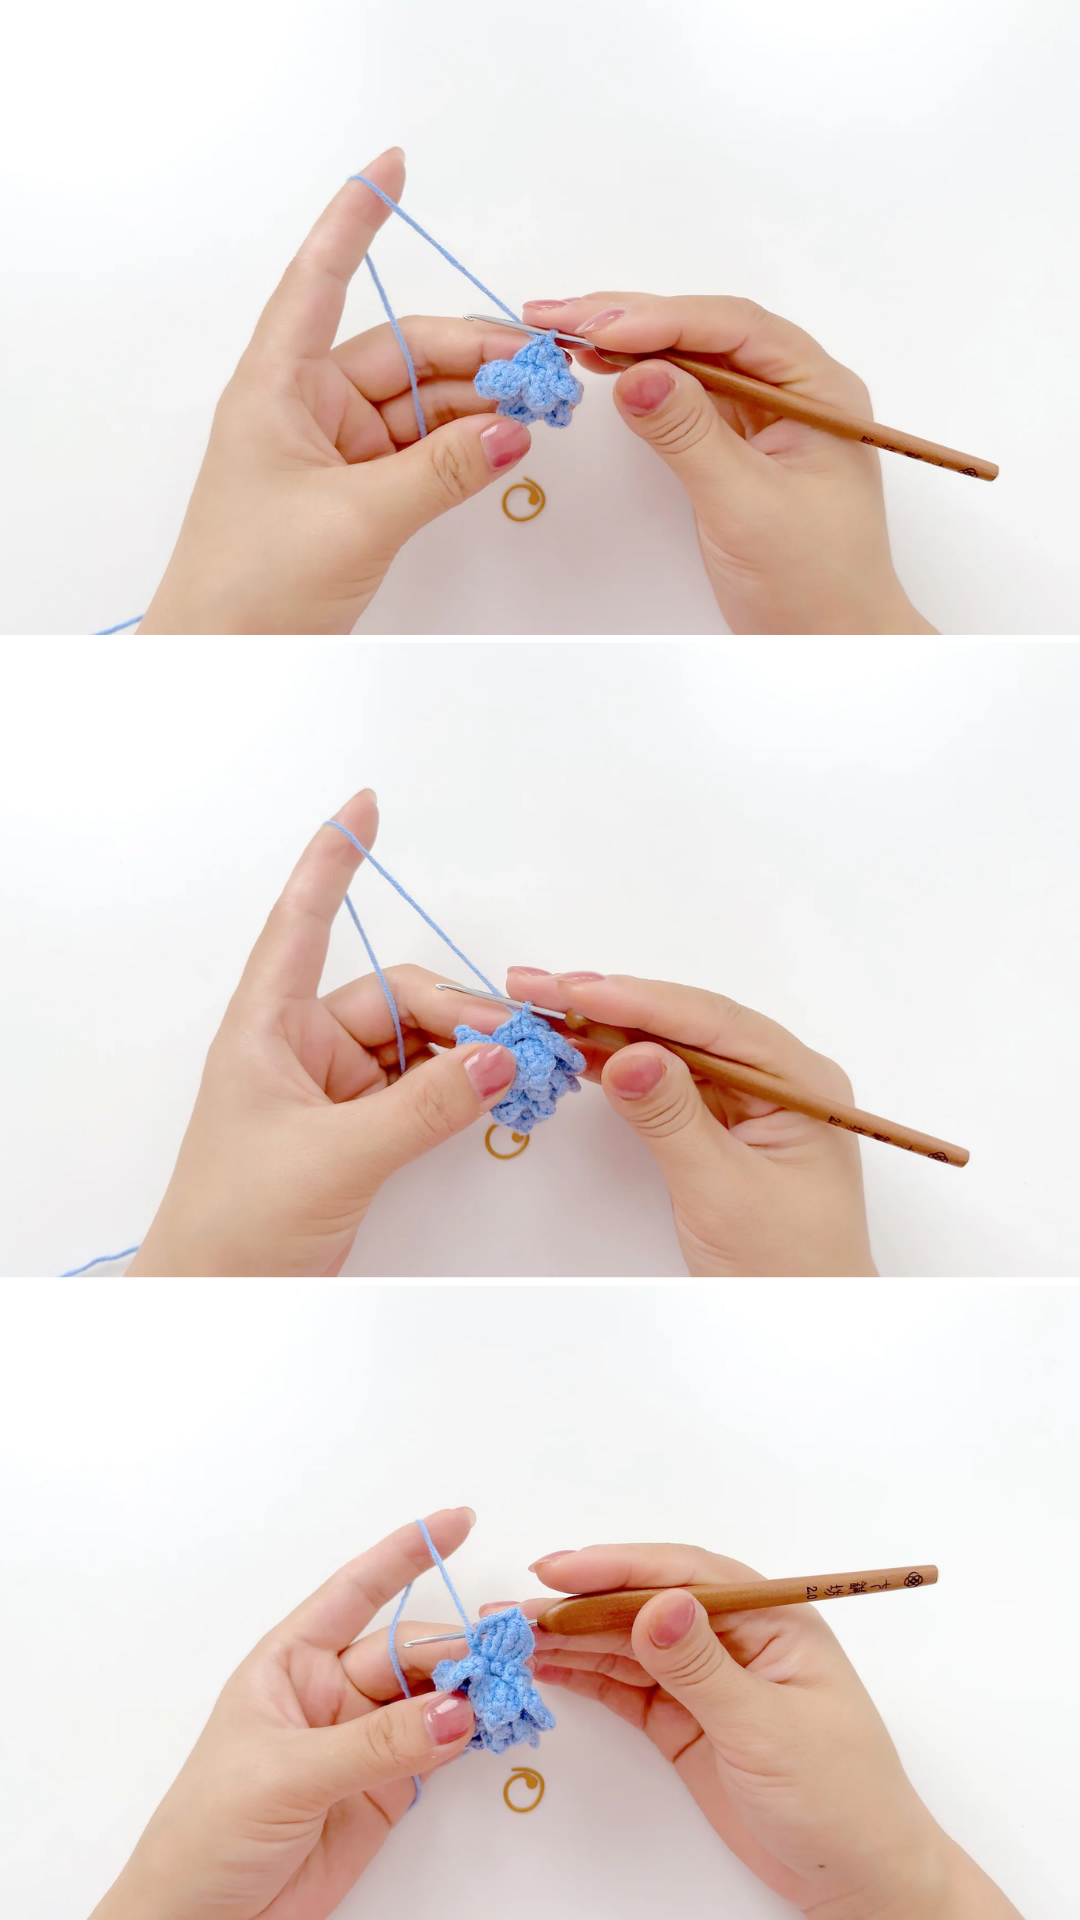
Step-by-Step Guide to Crocheting the Flower
Start the flower center with a magic ring in yellow yarn and repeat a small sequence of chains, single crochet in the second chain from the hook, and slip stitches three times. This forms a compact, textured cluster of three little puffs for the heart of the blossom.
For the first petal layer in blue yarn, begin with a magic ring, work six half double crochet stitches, and join with a slip stitch. In the second round, work in the front loops only with chains, two treble crochet stitches, chains, and slip stitches six times, then slip stitch in the back loop.
Move into the second petal layer by working in the back loops with six half double crochet increases and joining with a slip stitch. For the next round in the front loops, repeat chains, two treble crochet stitches, a picot, two more treble crochet stitches, chains, and a slip stitch six times, ending with a slip stitch in the back loop.
Build the third petal layer in the back loops by repeating a half double crochet followed by a half double crochet increase six times, then join with a slip stitch. Finish that layer’s second round by repeating chains, a treble crochet, a double treble crochet, a picot, a double treble crochet, a treble crochet, chains, and a slip stitch six times.
Making the Flower Base and Leaves
To crochet the flower base, start with a magic ring, work five single crochet stitches, join with a slip stitch, and make a chain. In the second round, complete five single crochet increases and join with a slip stitch, then shape the third round by repeating a small chain-and-half-double-crochet point, skipping one stitch, and slip stitching five times.
To make each of the two green leaves, chain ten and work along the foundation chain with a single crochet in the second chain from the hook, a half double crochet, five double crochet stitches, and another half double crochet. At the tip, work a single crochet, a chain, and a single crochet, then mirror the stitches down the other side with a half double crochet, five double crochet stitches, a half double crochet, a single crochet, and a slip stitch.
Putting Your Gardenia Applique Together
Before gluing anything down, weave in and hide all loose yarn ends neatly on the back of the flower, leaves, and flower base. Taking time to tidy the back ensures your finished applique looks clean from every angle and stays secure.
Attach the yellow flower center right into the middle of the blue petals so it sits snugly in place. Once the center is secure, use hot melt adhesive to attach the two green leaves to the back of the flower so they peek out naturally.
Finally, apply a little hot melt adhesive to fasten the flower base onto the back of the flower. Pressing the pieces gently together helps them bond evenly while keeping the front petals full and uncrushed.
Helpful Tips and Tricks for Neat Results
Keep your tension steady when working with a 2.0 mm hook and fingering-weight cotton yarn, especially on taller stitches like treble and double treble crochet. Even stitches prevent ruffled edges from twisting and help each petal layer sit smoothly.
Use a stitch marker at the start of rounds or whenever you need to spot a specific loop later for joining or petal placement. When applying hot melt adhesive, use a light, controlled amount so glue does not seep through to the front stitches.
Creative Ways to Display Your Floral Decor
Cluster a few finished gardenias among greenery or potted plants to create a cheerful, low-maintenance floral arrangement. You can also place them beside books, trays, or desk accessories for an instant pop of soft color.
Because these appliques are lightweight and dimensional, they also shine on handmade cards, gift wrap, journals, and fabric crafts. Try making a small batch in your favorite shades so you always have a sweet handmade flower ready whenever inspiration strikes.