Learn to Crochet a Cute Sloth Applique Step by Step
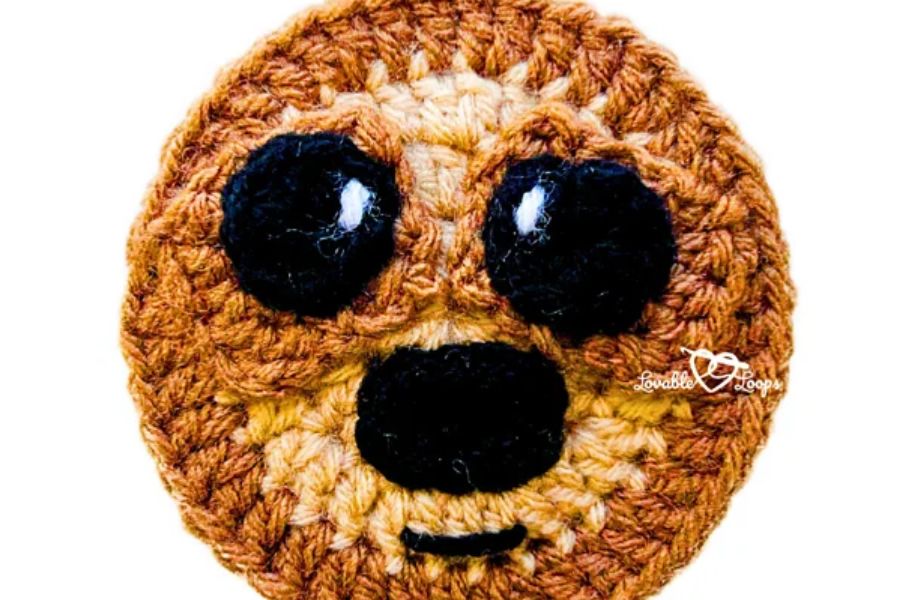
Are you looking to add a touch of slow-paced charm to your crochet projects? Creating a cute sloth applique is a wonderfully fun way to bring these famously relaxed creatures to life with just a bit of yarn and your favorite hook.
With their sweet circular faces and distinctive dark eye patches, these handmade embellishments are sure to make anyone smile. This step-by-step guide will show you exactly how to stitch together your very own little sloth friend.
Introducing the Cute Sloth Applique
Sloths are known for taking things easy, and this crochet project is the perfect excuse for you to do the same. This applique captures their endearing, gentle expressions in a compact, circular form that can be used in countless ways.
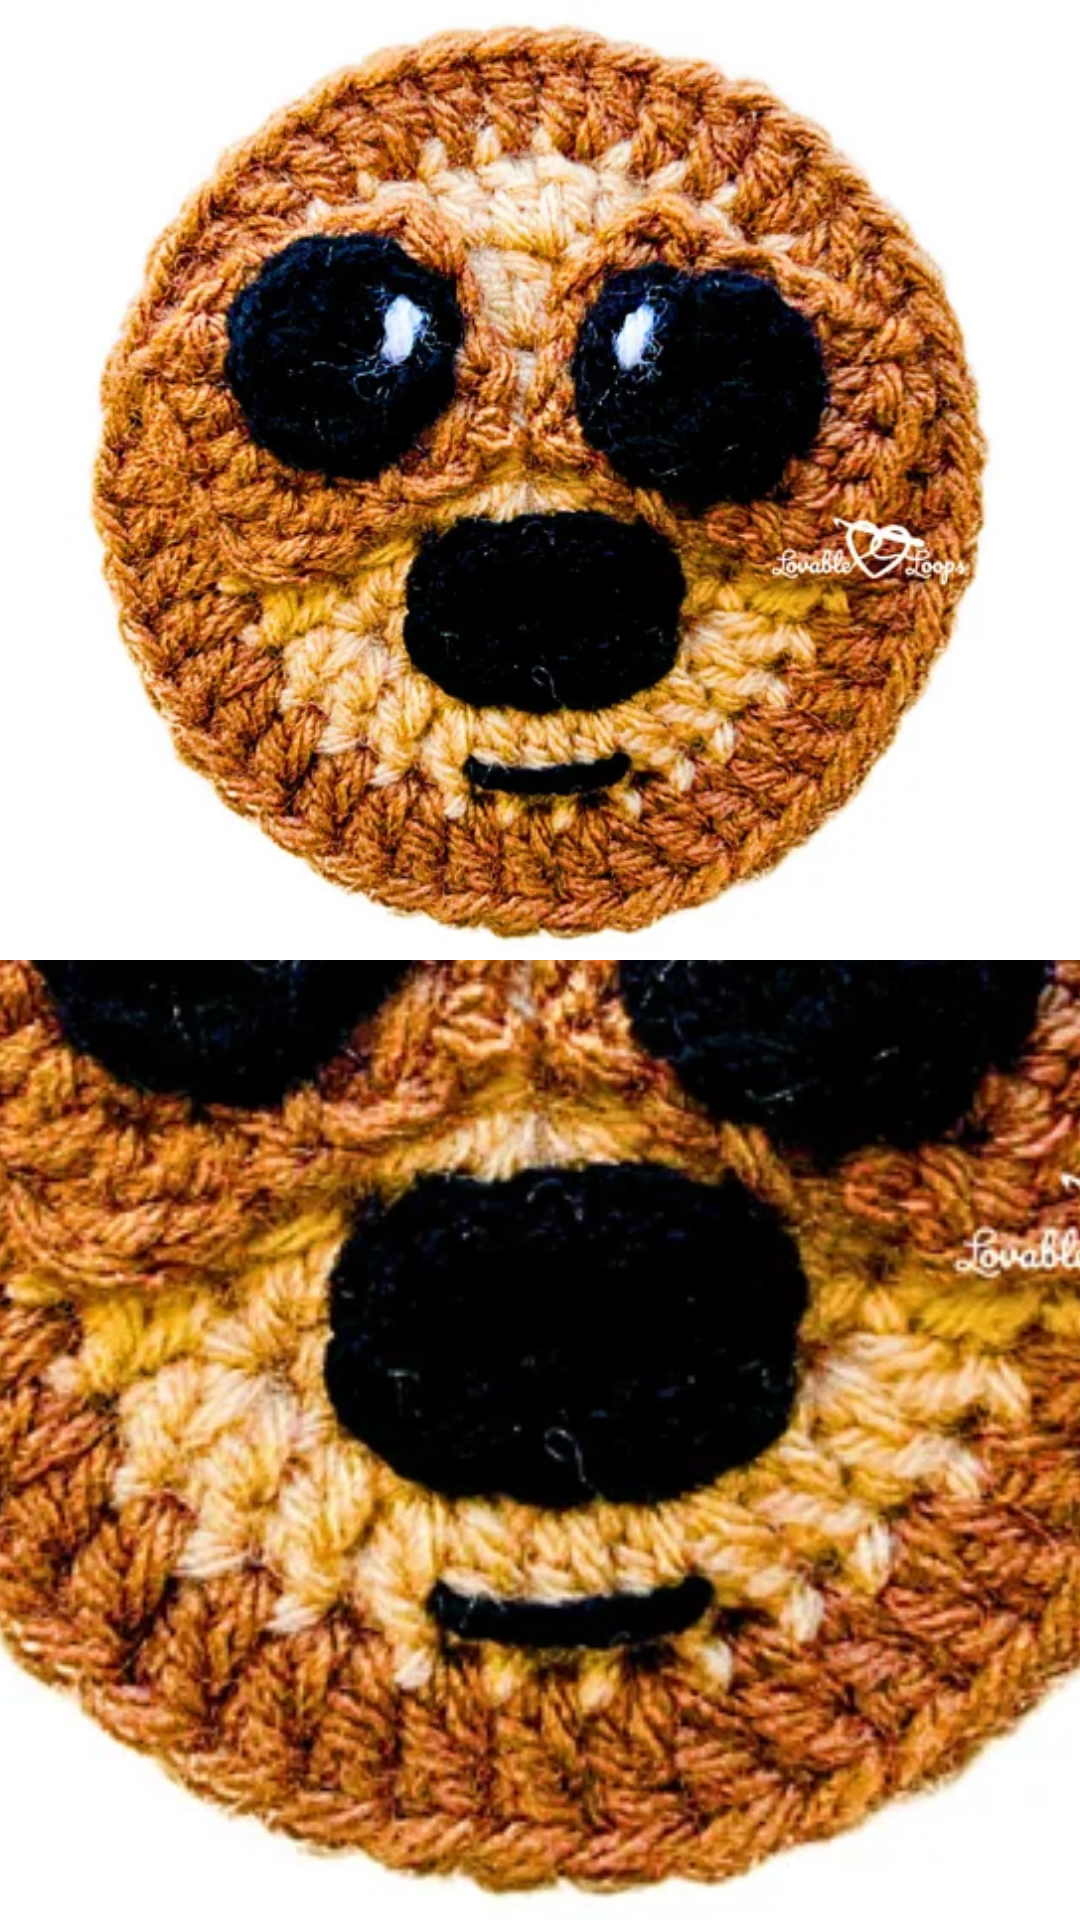
The finished sloth measures approximately 4 inches wide and 4 inches tall, making it the ideal size for a variety of decorative uses. It features a warm, multi-toned face made of natural shades, complete with expressive dark eyes, a prominent nose, and a tiny, gentle mouth.
Gathering Your Crafting Materials
To get started on your sloth, you will need to choose the right materials to ensure the best results. The suggested yarn is Red Heart Super Saver (Solids), which is an excellent choice for this kind of project because of its durability and wide range of colors.
You should look for:
- Medium-weight brown yarn for the outer head
- Tan or beige yarn for the inner face
- Black yarn for the distinctive eye patches and nose
- A tiny scrap of white yarn to add the expressive sparkle to the eyes
You will also need a 5.0 mm (H) crochet hook, which is the perfect size for working with this Aran weight (8 wpi) yarn. A tapestry needle with a large eye is essential for sewing on the face pieces and weaving in ends, along with a sharp pair of scissors and a tape measure to check your sizing.
Understanding Gauge and Sizing
While you can always make your sloth bigger or smaller by changing your hook size, following the suggested gauge is the best way to hit the 4-inch target. For this pattern, the gauge is 8 stitches and 4 rows = 5 cm (about 2 inches) using your 5.0 mm hook.
Matching the gauge ensures that the features will fit together perfectly without overlapping too much or leaving awkward gaps. If your stitches are naturally loose, try using a slightly smaller hook, and if you crochet tightly, a larger hook may be just what you need.
Helpful Techniques to Master
To create this applique, you will rely on several basic crochet techniques that are easy to pick up. You will need to know how to work in the round, make a magic ring, and perform standard stitches like the single crochet and double crochet.
Working with a magic ring is especially important here because it allows you to start the circular face with a tightly closed center. You will also use slip stitches to join rounds, change yarn colors between the face and head, and do basic sewing with your tapestry needle to attach the features.
Step-by-Step Sloth Face Construction
To begin, you will make a magic ring using your tan or beige yarn to start the inner face. Work single and double crochet stitches into the ring, gradually increasing your stitch count over the next couple of rounds to create a smooth, flat circle.
Once the tan face is complete, you will join your brown yarn to work the outer head border. Using double crochet stitches around this edge will create the sloth’s natural fur-like framing while expanding the piece to its final 4-inch size.
Next, you will craft the two eye patches by making small, dark ovals with your black yarn. Once these are finished, you can use your white yarn and a tapestry needle to stitch a tiny, lively glint onto each eye before sewing them to the face.
Finally, you will stitch a small, horizontal black oval for the nose and place it right between the eyes. Use a few straight stitches with black yarn to add the sloth’s tiny, calm mouth just below the nose.
Essential Tips and Tricks for Success
When working with Aran weight yarn, it is important to keep your tension consistent to ensure your circular pieces stay flat. If you notice the edges of the face beginning to ruffle or curl like a bowl, try adjusting your stitch count or relaxing your grip on the hook.
To make the eye patches look natural, place them at a slight outward angle rather than perfectly straight. Sloths have natural shading that slopes downward and outward from their eyes, so mirroring this angle will instantly make your applique look more realistic.
Leaving a long tail of yarn when you finish the outer head is a great way to make attaching the applique easier later on. You can use this leftover strand to sew the sloth securely onto blankets, bags, or jackets without having to introduce new yarn.
If your finished applique feels a bit uneven, a quick blocking session can do wonders. Just pin the piece flat, lightly mist it with water, and let it dry completely to give it a perfectly round, professional finish.
Fun Ways to Use Your Sloth Applique
Once your cute sloth is complete, you can find all sorts of creative ways to show it off. It makes a wonderful, playful addition to childrens items like blankets, hoodies, and backpacks.
You can also sew it onto throw pillows, scarves, or even attach a loop to the top to use as a whimsical ornament or keychain. They are also fantastic for scrapbooking, embellishing cards, or adding a cozy, handmade touch to your favorite accessories.
Now that you know the steps, you can start crafting your own little sloth friend. Take your time, enjoy the creative process, and have fun making this adorable, laid-back decoration.